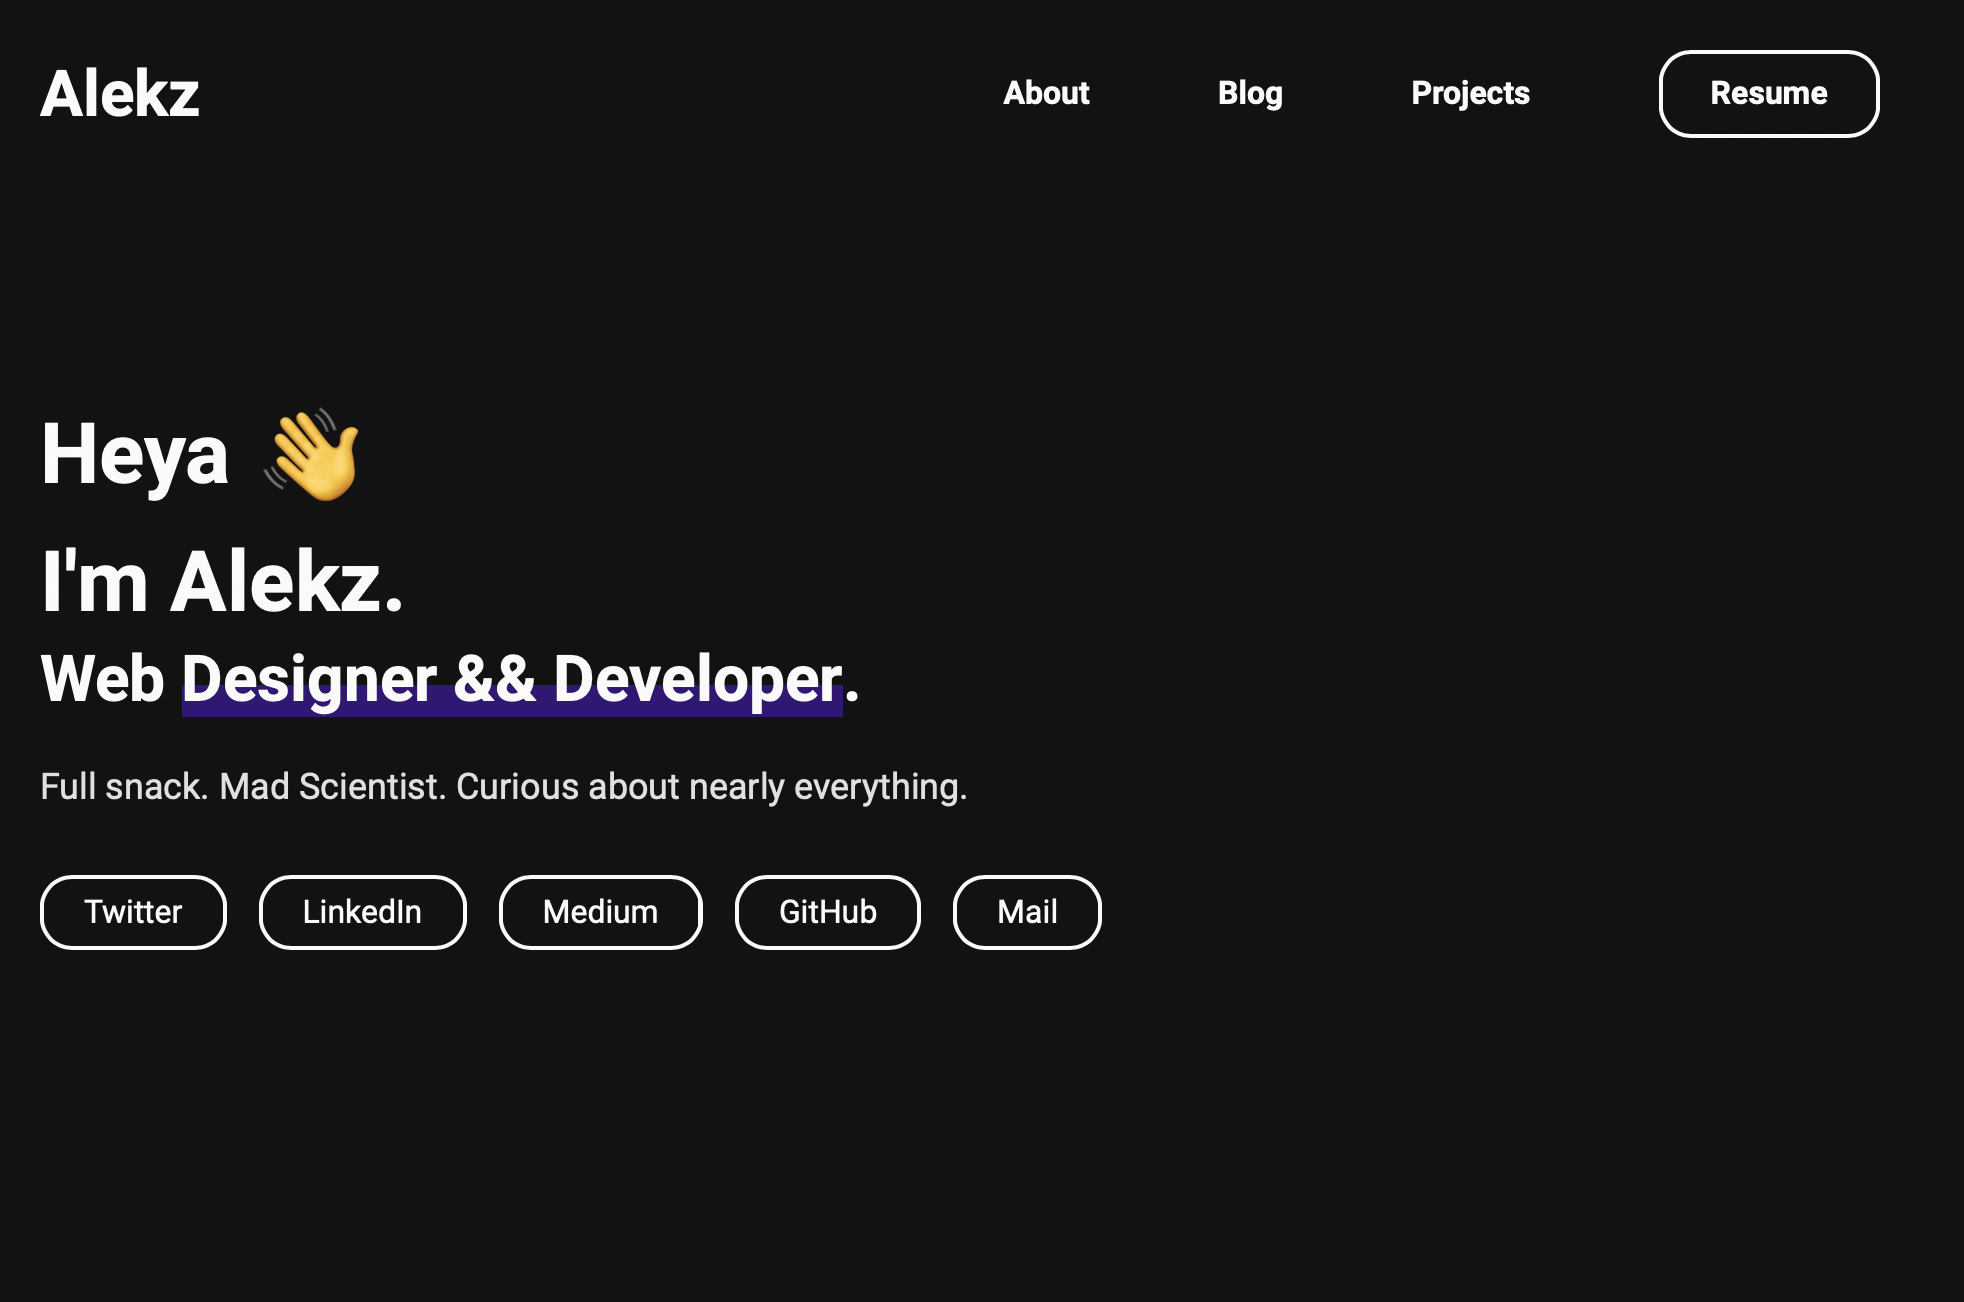
As a new developer-in-training I keep hearing the advice that you should not be paying money for anything until you’ve actually gotten your first software engineering position. Creating a website can obviously be quite costly if you pay somebody else to set it up for you, especially if you have a very complex website in mind. New developers don’t need anything crazy, just a simple website to host some technical blog posts & showcase their projects. If you’re looking to create one for yourself then read on. 😄
Getting a Free Domain Name
Like a good self-taught dev I’ve been consuming tons of computer science content in an effort to learn everything that I can. I also have a full-time job so I’m short on time, but one of the ways that I’m able to fit learning into my busy schedule is to listen to podcats while I’m at work. One of the podcasts I’ve been listening to is Base.CS (highly recommend btw), which is sponsored by Porkbun.com. They offer a free .app or .dev domain for the first year. While this isn’t totally necessary (I’ve seen tons of devs get jobs with a .github.io or .netlify.app portfolio), I wanted my site to look more professional, plus I was able to claim a name that I really love (& it was free so why the heck not?)
Setting up a Gatsby site
I first heard about Gatsby when I was reading Wes Bos’ blog post about how he put his site together. I’m a big fan of Wes so I decided to follow his lead, plus it seems like it’s a popular and in-demand technology & I want to get up to speed with what is being used in the industry.
At first, I wanted to create everything from scratch but a) tinkering around was eating into my study time and b) I learned that good developers don’t build everything from scratch. Frameworks and themes exist for a reason. I found a beautiful theme that didn’t require a CMS and was simple & perfect for my use case.
Terminal Commands:
- Make sure you have the most up to date version of node installed.
node -v
// Mine is v16.16.0 at the time of writing- Install the Gatsby CLI
npm install -g gatsby-cli
// There will be some error messages, there always are. Just ignore them.
By default when you open Terminal you’ll be in your home directory. Switch to the directory (aka folder) where you want your blog files to live. If you want them to live in your home directory, that’s fine. I’m going to move to the desktop.
cd desktop
// cd is short for change directory- Run the Gatsby CLI command to create a new blog.
gatsby new BLOGNAMEHERE https://github.com/konstantinmuenster/gatsby-starter-portfolio-minimal-theme
// Replace BLOGNAMEHERE with your blog name
// The URL points to a repo with the theme, there are lots that you can choose from. This is the one that I used.
This will create a new folder with a name of your choosing (replace BLOGNAMEHERE) that contains all of the necessary template files for your blog.
You will see a terminal message that recommends the next steps, which are:
cd BLOGNAMEHERE // move into the blog directort
cd develop // spin up the local development server so that you can preview the changes you make to your site's files in the browser
Once the local server has started up, you’ll see a message on the terminal with a link to your local site. It should look like this:
You can now view BLOGNAMEHERE in the browser.
⠀
  http://localhost:8000/

// click the link or copy and paste it into your browser
Now you’ll be able to see what your site looks like as you make changes to it. ✨
Deploying the site
I created a GitHub repo for the site so that the code would be publicly hosted & then deployed the site on netlify for free. Simple. 👍
Configuring the DNS
I went into the site’s domain settings on Netlify and configured my site to use the free custom domain name that I got from pork bun by adding a domain alias. The default netlify.app domain name still works by the way, and can be reached at alekzandriia.netlify.app. To make my custom domain work I had to go into my pork bun account and point my domain’s name servers to Netlify. Netlify automatically covers the SSL certificate for you for free so that your site works with the HTTPS protocol which is super awesome.
More info from Netlify about configuring a custom domain here.
If you’re trying to make your own site & you get stuck along the way feel free to shoot me an email at hello@alekzandriia.com. I’d be happy to try to help you out. 😊

